splay legged coffee table

Building a splay-legged table with hand tools

This is not a project blog, meaning that I don’t want to write a lot of photo-heavy step-by-step posts about how to build things. There are enough of those out there already. Some of them are very good. It isn’t my thing, and the bases, mostly, are covered.

Occasionally, though, a project requires my working through a process that I have not seen explained elsewhere, and I’d like to write it down for my own understanding and reference… and if I’m going to do that much, I figure someone else may benefit from my experience.

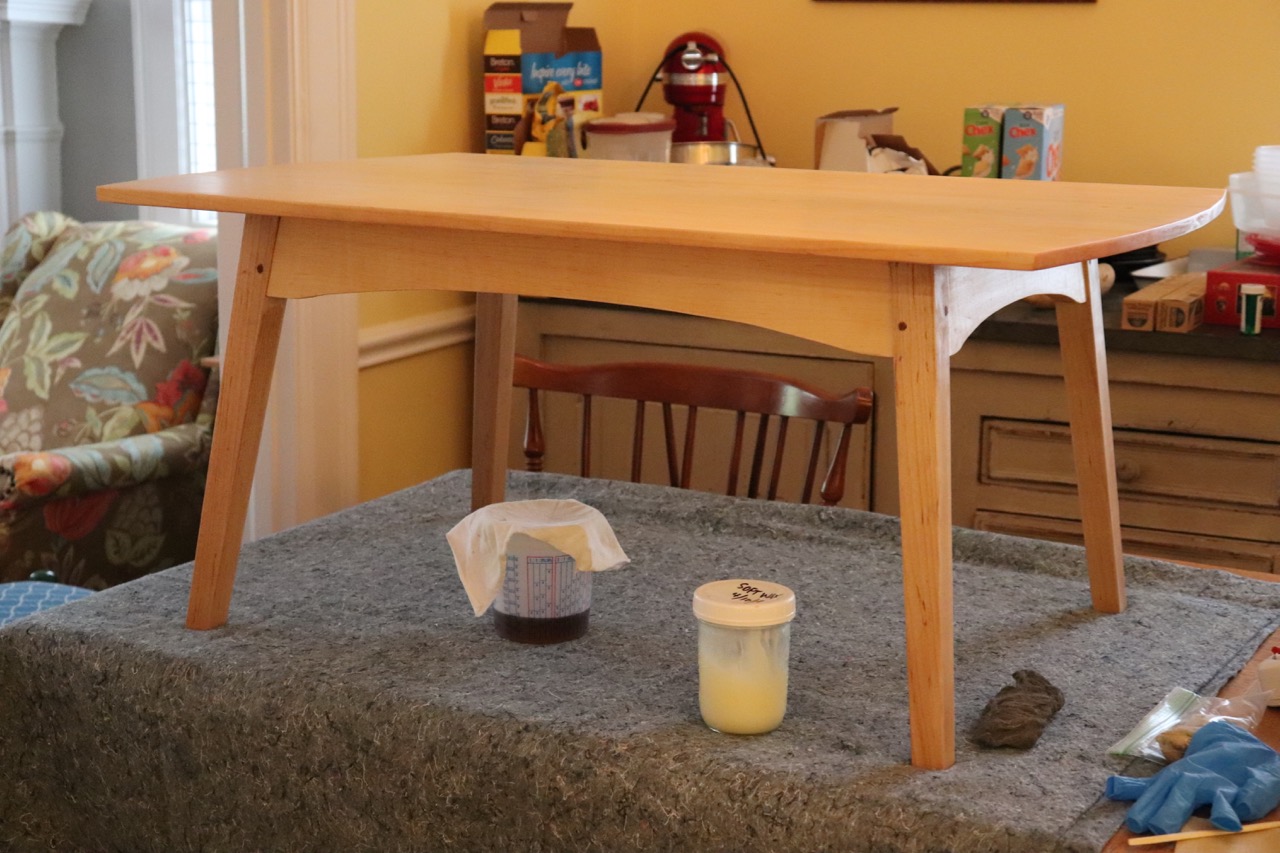
This table is one such project:

splay legged coffee table

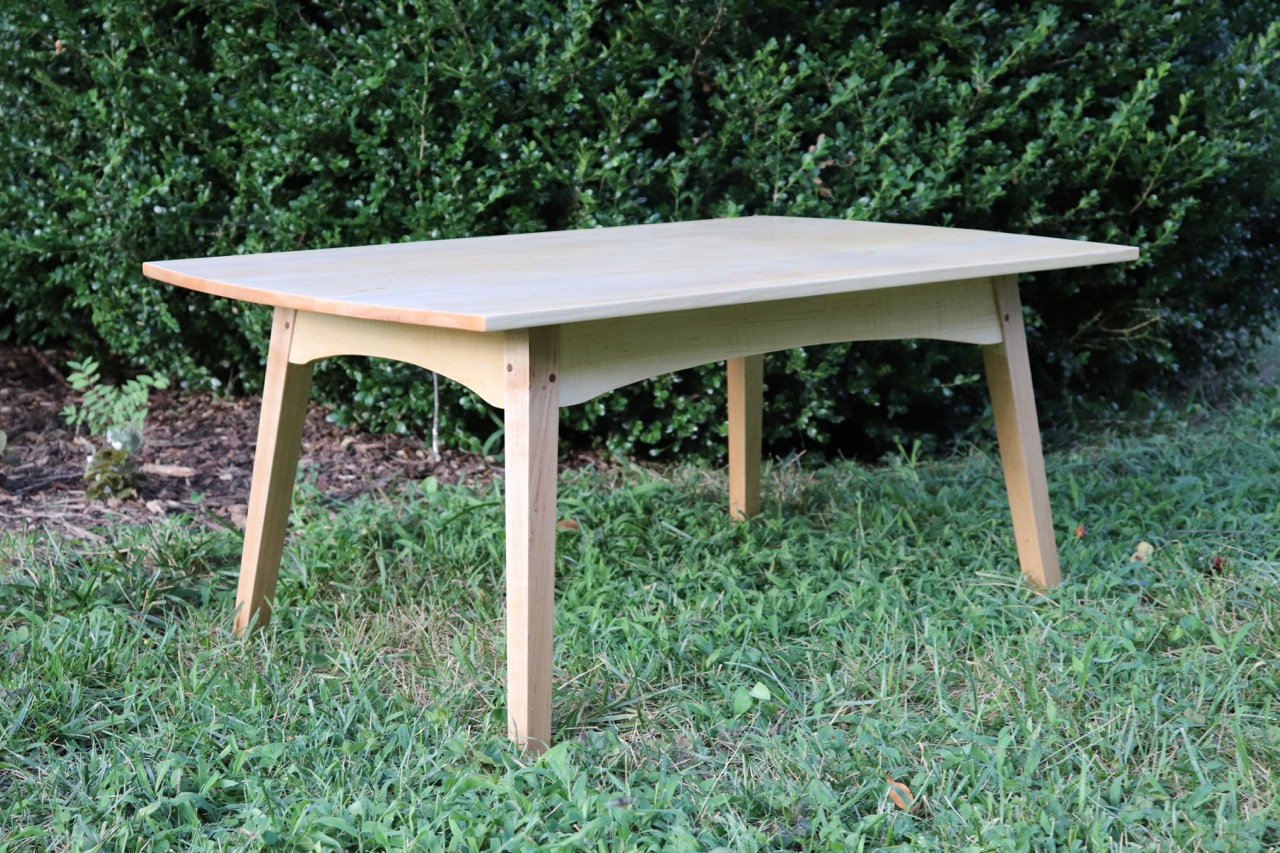
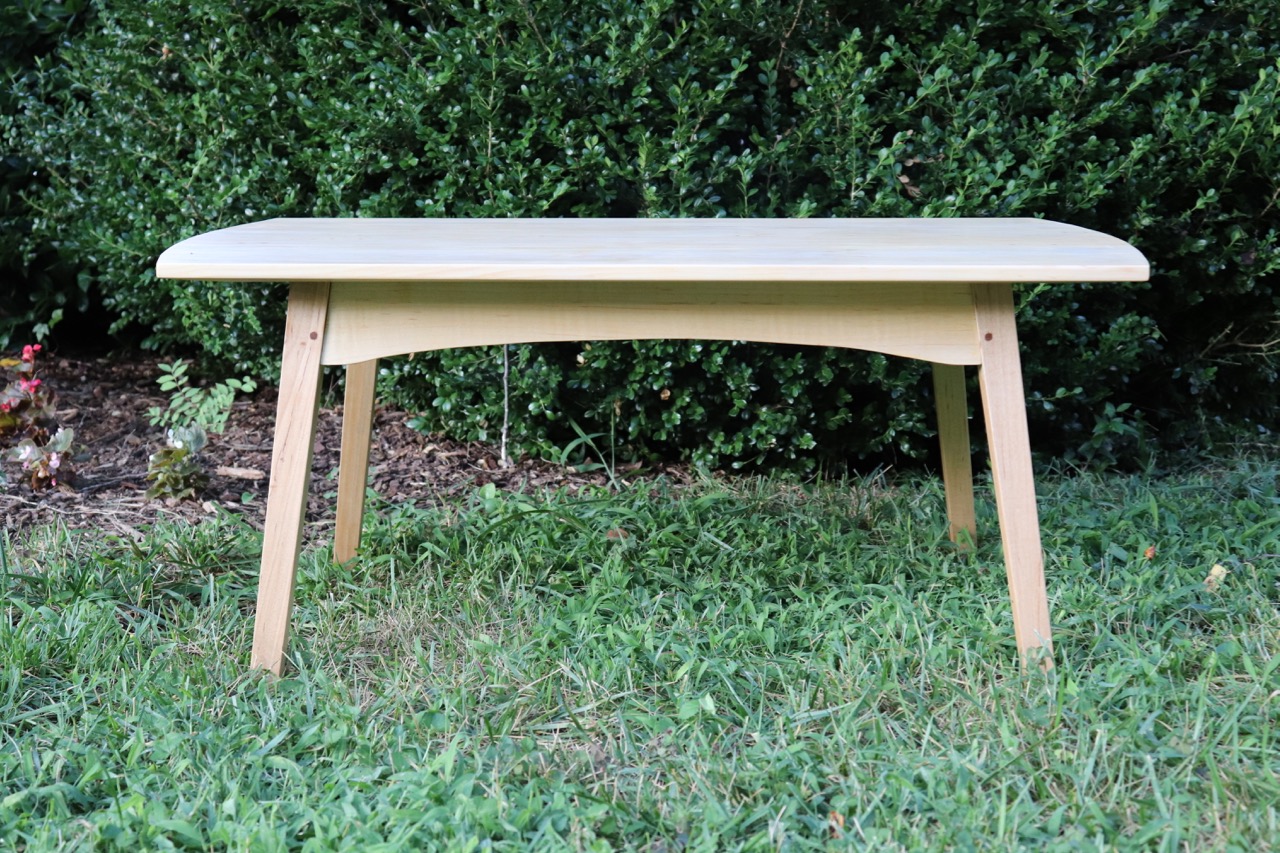
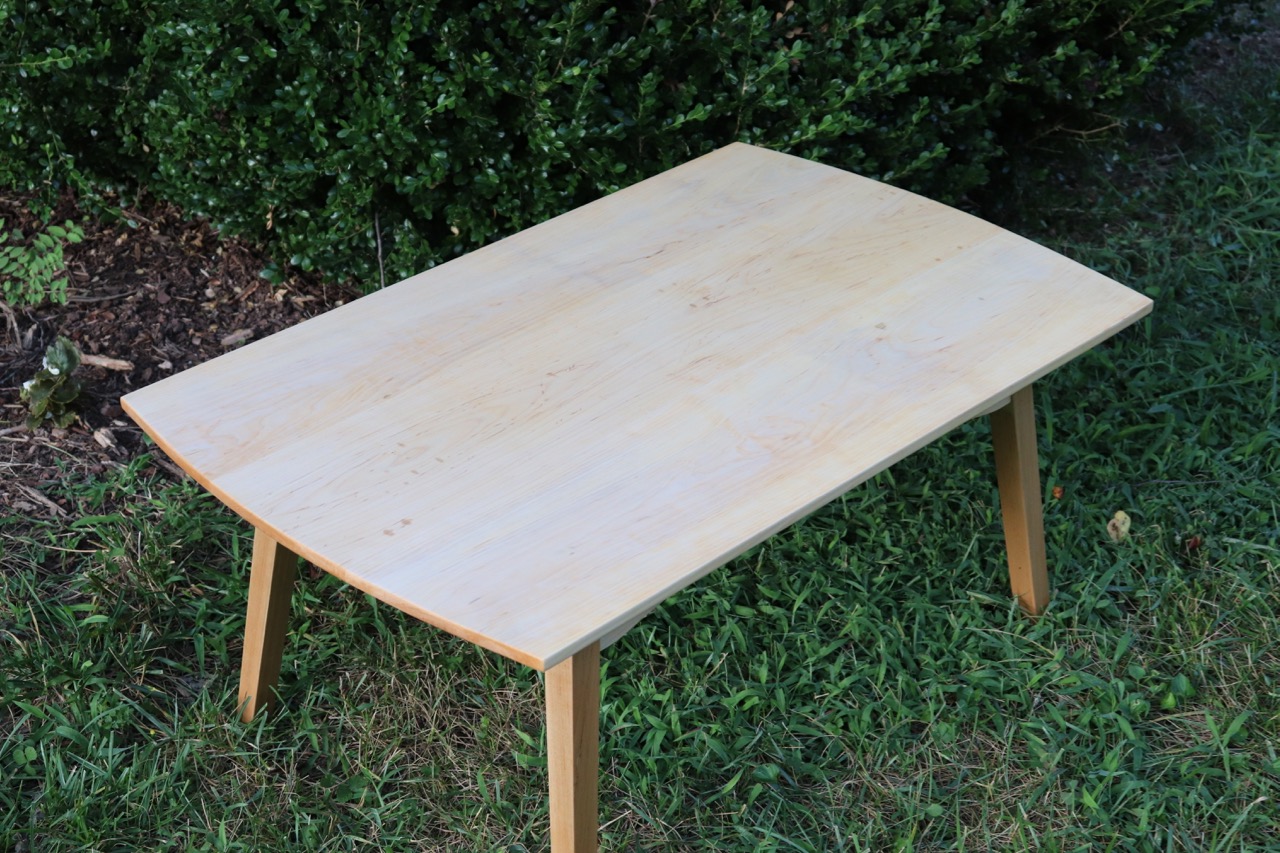
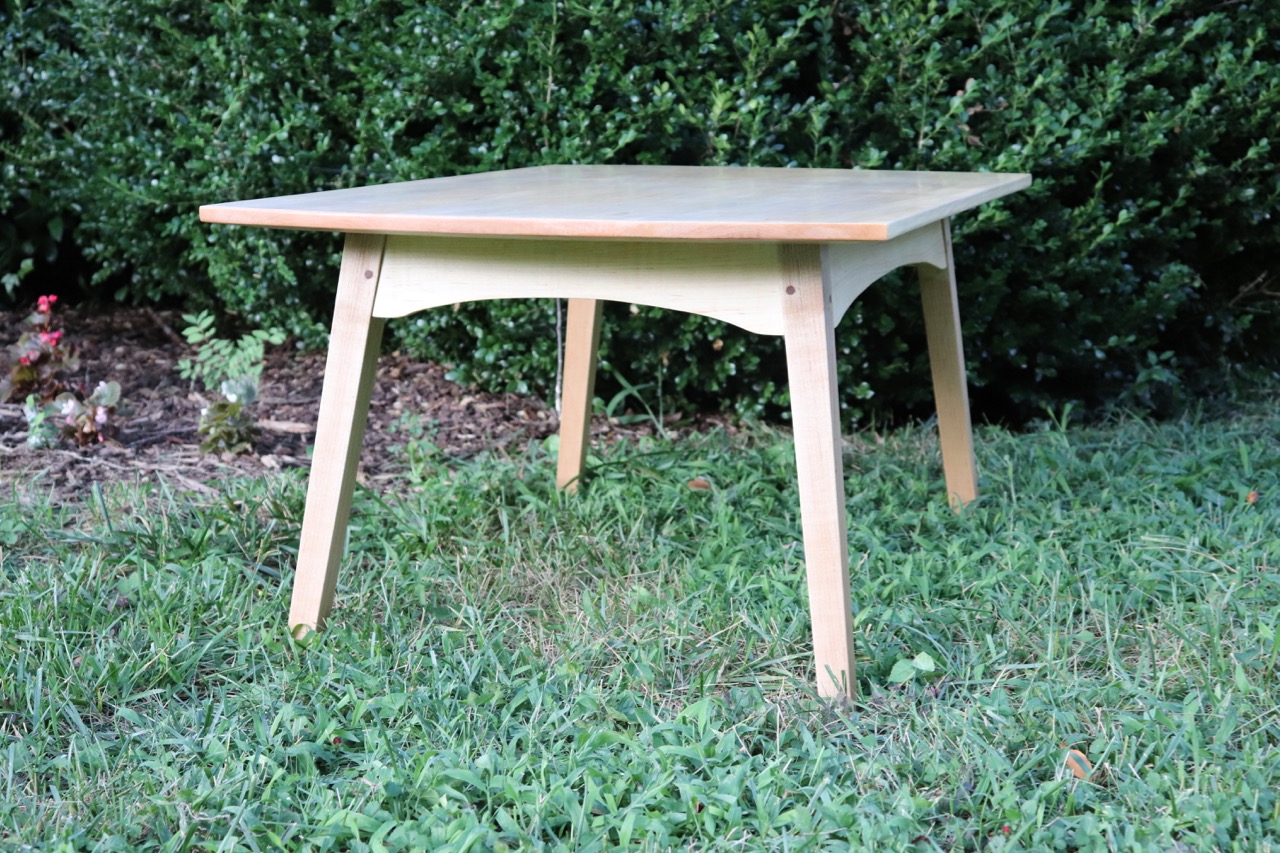
While there are some good articles available on building a table with splayed legs, they’re written for machine work. Since I work almost entirely with hand tools—I don’t own a drill press or table saw—most of the advice, and indeed even the process, in such articles is useless to me. Here, then, are ten things I learned from designing and building a splay-legged coffee table.

First, I am assuming that you can build a basic four-legged square table with straight aprons. I’m not going to explain mortise and tenon joints. Nor did I photo-document every stage of the process; I was too busy trying to build the thing. If Fine Woodworking wants to pay me to build it again and write it up (ha!) we’ll talk.

Ready? Here we go.

splay legged coffee table, in finishing

Small arcs of large circles: A calculator for cheaters and engineers

splay legged coffee table, in finishing

This week I am finishing my splay-legged coffee table… in the dining room, because the humidity is such that I don’t trust oil to dry in the workshop. I will have more to say about (and better photos of) this piece, which posed several, ah, interesting challenges, but for now let’s talk about this one, which I’ve faced before and will face again: constructing small arcs of large circles.

There are three long arcs of circles on this table, at the ends of the top and on the undersides of the aprons. The longest has a lengths of 23 inches and height of 1 inch — a radius of some five feet, so actually constructing the circle was straight out. I could probably have drawn the shortest one freehand to within sawing and shaving tolerances, but the longest moves so slowly that I didn’t trust myself. I’ve been known to use Affinity Designer (Adobe Illustrator for people without corporate budgets) to draw ogees when I couldn’t get what I wanted with French curves, but I can’t print something 23" long. What to do?

art box

Those old guys really nailed it.

Back in the early summer of 2013 I built this box to store my drawing and art supplies:

art box

It’s the 19th-century schoolbox from The Joiner and Cabinet Maker, made with circa-1830 methods, resized and with a till for pencils. It’s functional and attractive sitting beside my desk, and the yellow pine has aged nicely, but it’s essentially a student project, without unnecessary adornment. The exposed dovetails aren’t contemporary ornament but evidence that the original wasn’t worth the effort of fancy moulding or veneer. The simple moulding around the top is simply nailed on, with historically accurate cut nails (headless brads, actually). Here’s what the top looked like when it was first built:

blanket chest, front view

Threads of the past: A Pennsylvania Dutch blanket chest

This winter I built a Pennsylvania Dutch blanket chest. You can see pretty clearly what it is from the photos: it’s a chest, and you put your blankets in it. But that term “Pennsylvania Dutch blanket chest” is tricky: it refers almost exclusively to antiques, and so it might seem proper to call this a Pennsylvania Dutch style blanket chest — but it is, in fact, Pennsylvania Dutch, because I’m Pennsylvania Dutch, and I built it. It is also, in both construction and decoration, in keeping with both the form and the spirit of traditional (pre-1850) Pennsylvania blanket chests, and not only because I stuck a heart and some goldfinches on it. It isn’t a flat-sided New England six-board chest; it’s got decorative molding and a scroll-cut plinth (base). But the molding is simple, and it isn’t built of figured maple or imported mahogany, as some rich merchant or southern planter might want; it’s made of inexpensive wood (poplar) and painted. The painting is “just for pretty” but it relies on simple forms and on the skill and individual creativity of the maker rather than on expensive materials for its aesthetic value. It’s both practical and decorative, and there’s no competition between those qualities.

I tried to carry that spirit through the whole design, elevating the practical without compromising it. (Oh lord, this is starting to sound like an artist’s statement now. Reader, forgive me.) There were two challenges in designing this chest, the construction and the decoration, and I’ll address them separately.

What homeschool science looks like

This year I’m teaching my daughter physics, and though you might think it would be easy for a guy with a degree in physics to teach eighth-grade physics, it is not. It is undoubtedly easier than it would be if I didn’t have a degree in physics, but that’s not a high bar, you know? Much of physics beyond the most elementary observation is deeply mathematical; you need at least first-year algebra to make any sense of it, and at least a year of calculus to make a lot of sense. And to the extent that there are simple, practical, hands-on ways of exploring deep concepts, I didn’t learn them in college. So, for example, I did lots of fancy calculations of torque but never built a trebuchet, and I learned to analyze the role of a capacitor in a circuit but never built a Leyden jar. Teaching middle-school physics, then, has been an opportunity for me to fill in some rather distressing gaps in my own education, and to think about what I did learn in new ways.

To wit: In planning our unit on electricity and magnetism I stumbled across a book called Safe and Simple Electrical Experiments, by Rudolf F. Graf. Since it was published in 1960, “safe” assumes something slightly less than the helicopter parent’s standard of child care, and “simple” assumes a child whose brain has not been squeezed completely to mush by electronic devices: all the better! You have to think to do this stuff, and fiddle with things when they don’t work the first time, and there are delightful instructions on how you can give your friend an unpleasant but allegedly harmless shock. On the negative side, some of what were considered household objects in 1960, such as vinyl records, may not be as easily accessible in 2017. But there are nearly always substitutes if you hunt for them.

As our culminating project, we built a working telegraph. I will let Dear Daughter explain it herself. (Video after the jump.)

the solar woodshop: a visual explanation

The solar woodshop, explained

These days it’s all green this and renewable that, solar houses and electric cars and trains that run on cow farts. Well, look, my woodshop runs on solar energy, too. My daughter drew this diagram to show you all how it works:

the solar woodshop: a visual explanation

I admit I do run a fluorescent light and a radio. But otherwise it’s just the sun, grass, cows, and me. Ain’t no energy greener than hand power, friends.

The thirty-dollar shaving horse

Until my first day doing living history I’d never used a shaving horse before, never used a drawknife or a spokeshave. I’d always thought that someday I might like to take a chairmaking class, just for fun, but that it wasn’t something I really saw myself doing much.

Shows what I know. One day muddling my borrowed-tool way through demonstrations and I knew I needed a shaving horse and tools of my own, if only so that I could pay decent respect to the real craftsmen whose role I was playing. It turned out, though, that even though a shaving horse is one of the simplest, rough-and-tumblest workbenches a man can make, it might just be harder to make in 2011 than it would have been in 1700. I had to get a little inventive. What follows is the story of my thirty-dollar, down and dirty, twenty-first century shaving horse.

Khaki Campbell egg production

During their first year of laying, our seven Khaki Campbells laid 332 eggs each. That is 47 pounds (21 kilograms) of eggs per duck, in a single year.

When we were debating breeds of ducks, we read that Campbells typically lay about 300 eggs a year. (The record laying bird of any breed, any species, was a Campbell duck who laid more than 365 eggs in a year.) Several sources confirmed this figure, but we couldn’t quite bring ourselves to believe it. It just seemed fantastic. An egg a day, with only an occasional miss and time off for molting? Surely these ducks must be pushed to the limit of their genetic capacity.

But we never consciously pushed our birds. As far as I can tell, they’re just extremely happy and healthy ducks.

Duck eggs: A primer

Never eaten duck eggs? Most people haven’t. The differences between chicken and duck eggs, while slight, are noticeable by people who aren’t used to the latter. Most of the people I know who have tried them prefer duck eggs, but not everyone likes them. In this primer I’ll set out the differences between the two, but you really will just have to try them for yourself.