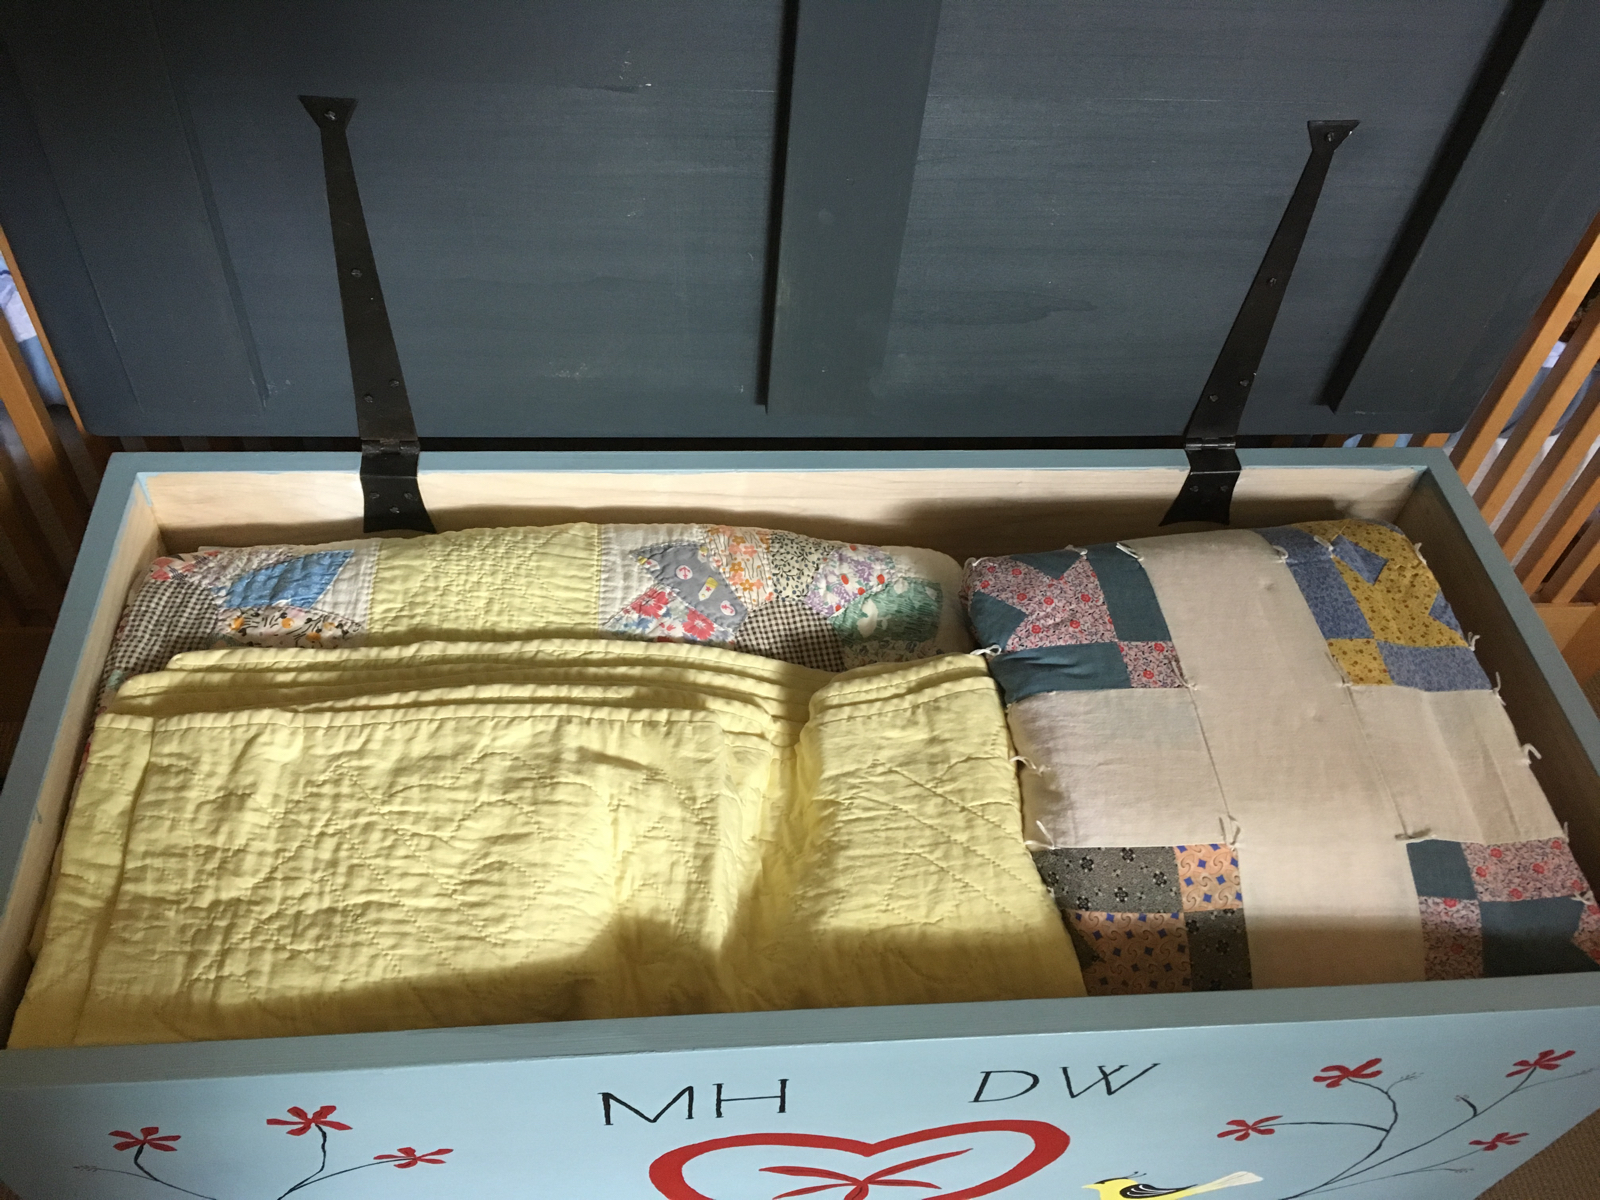
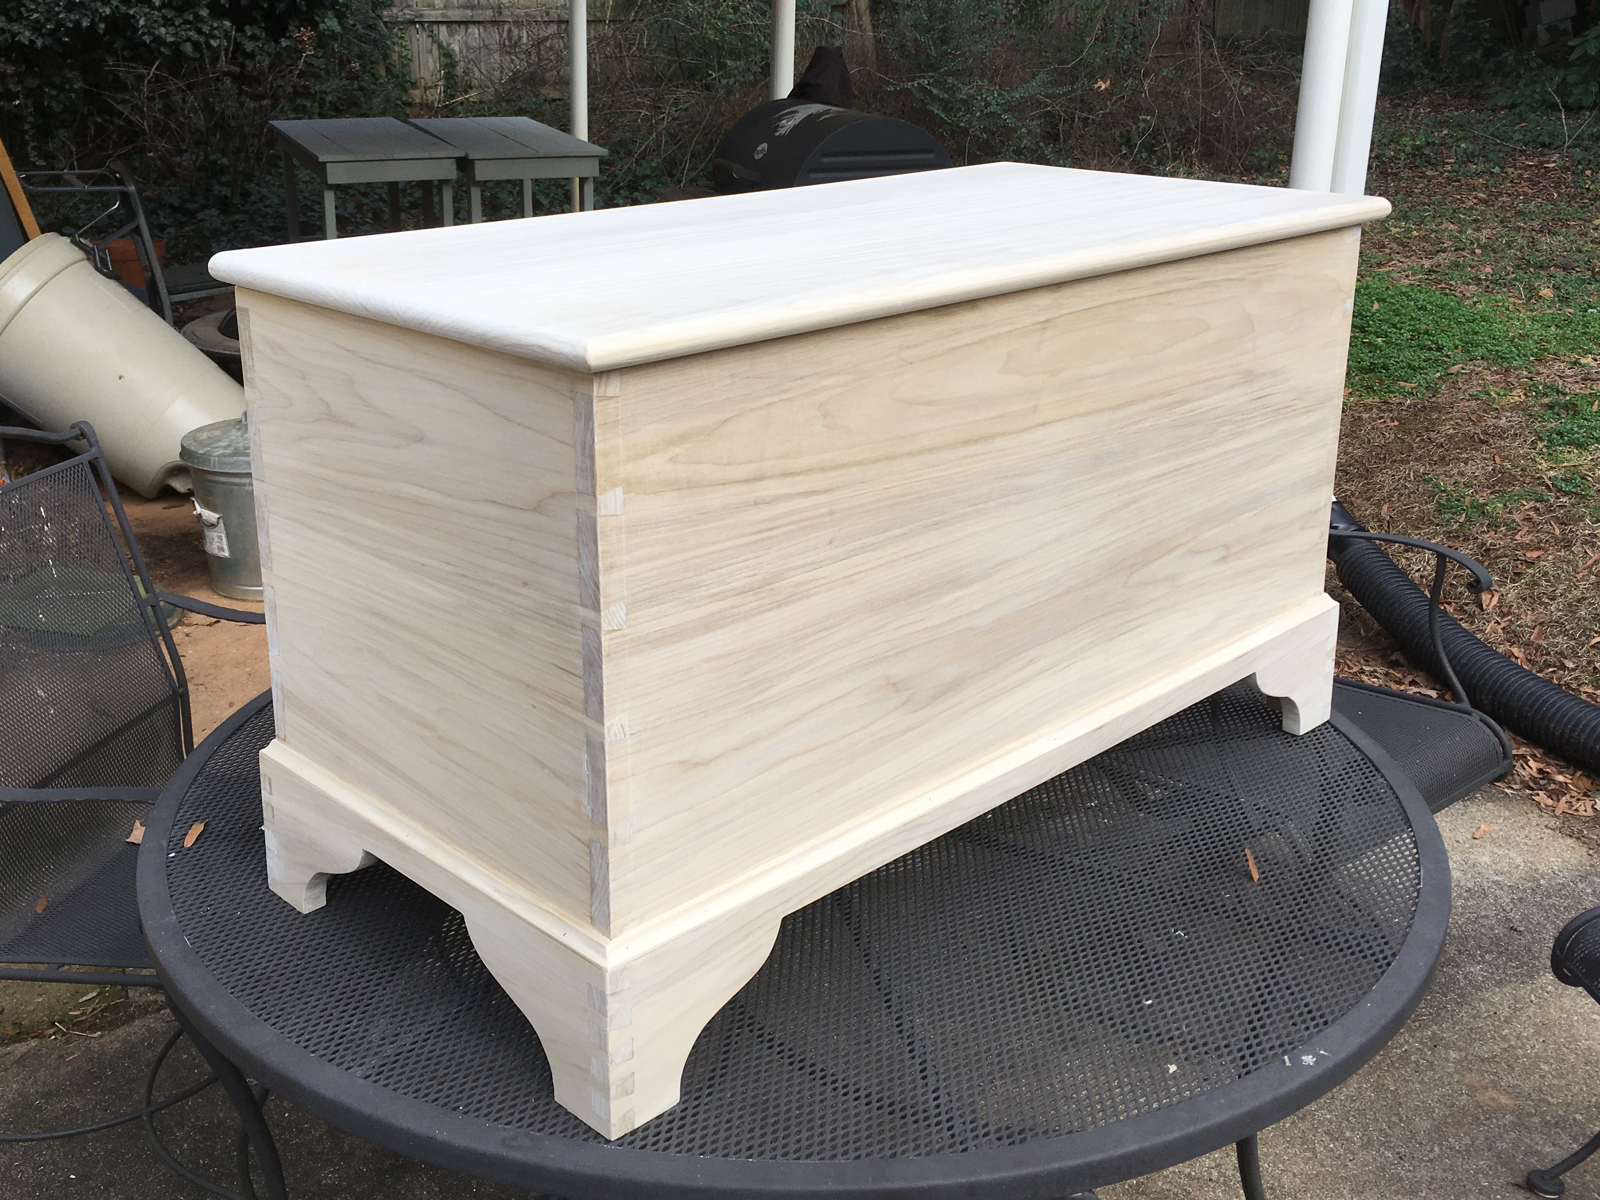
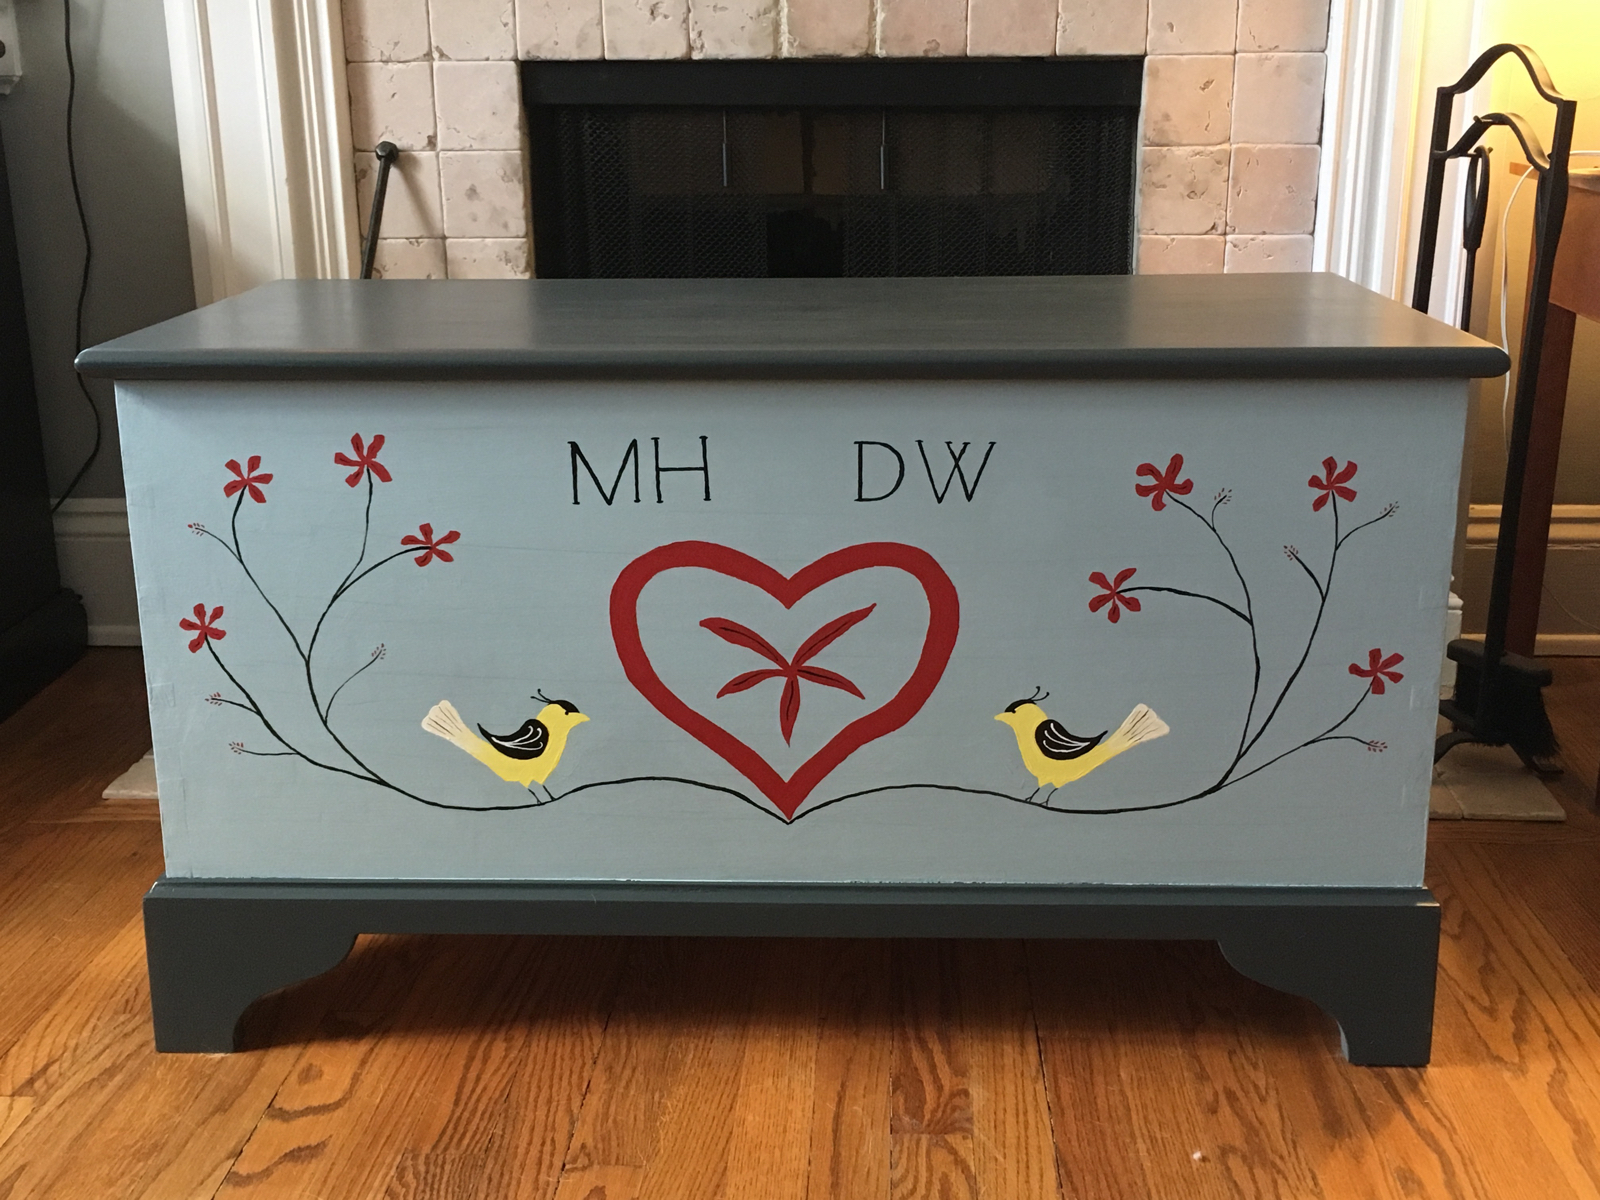
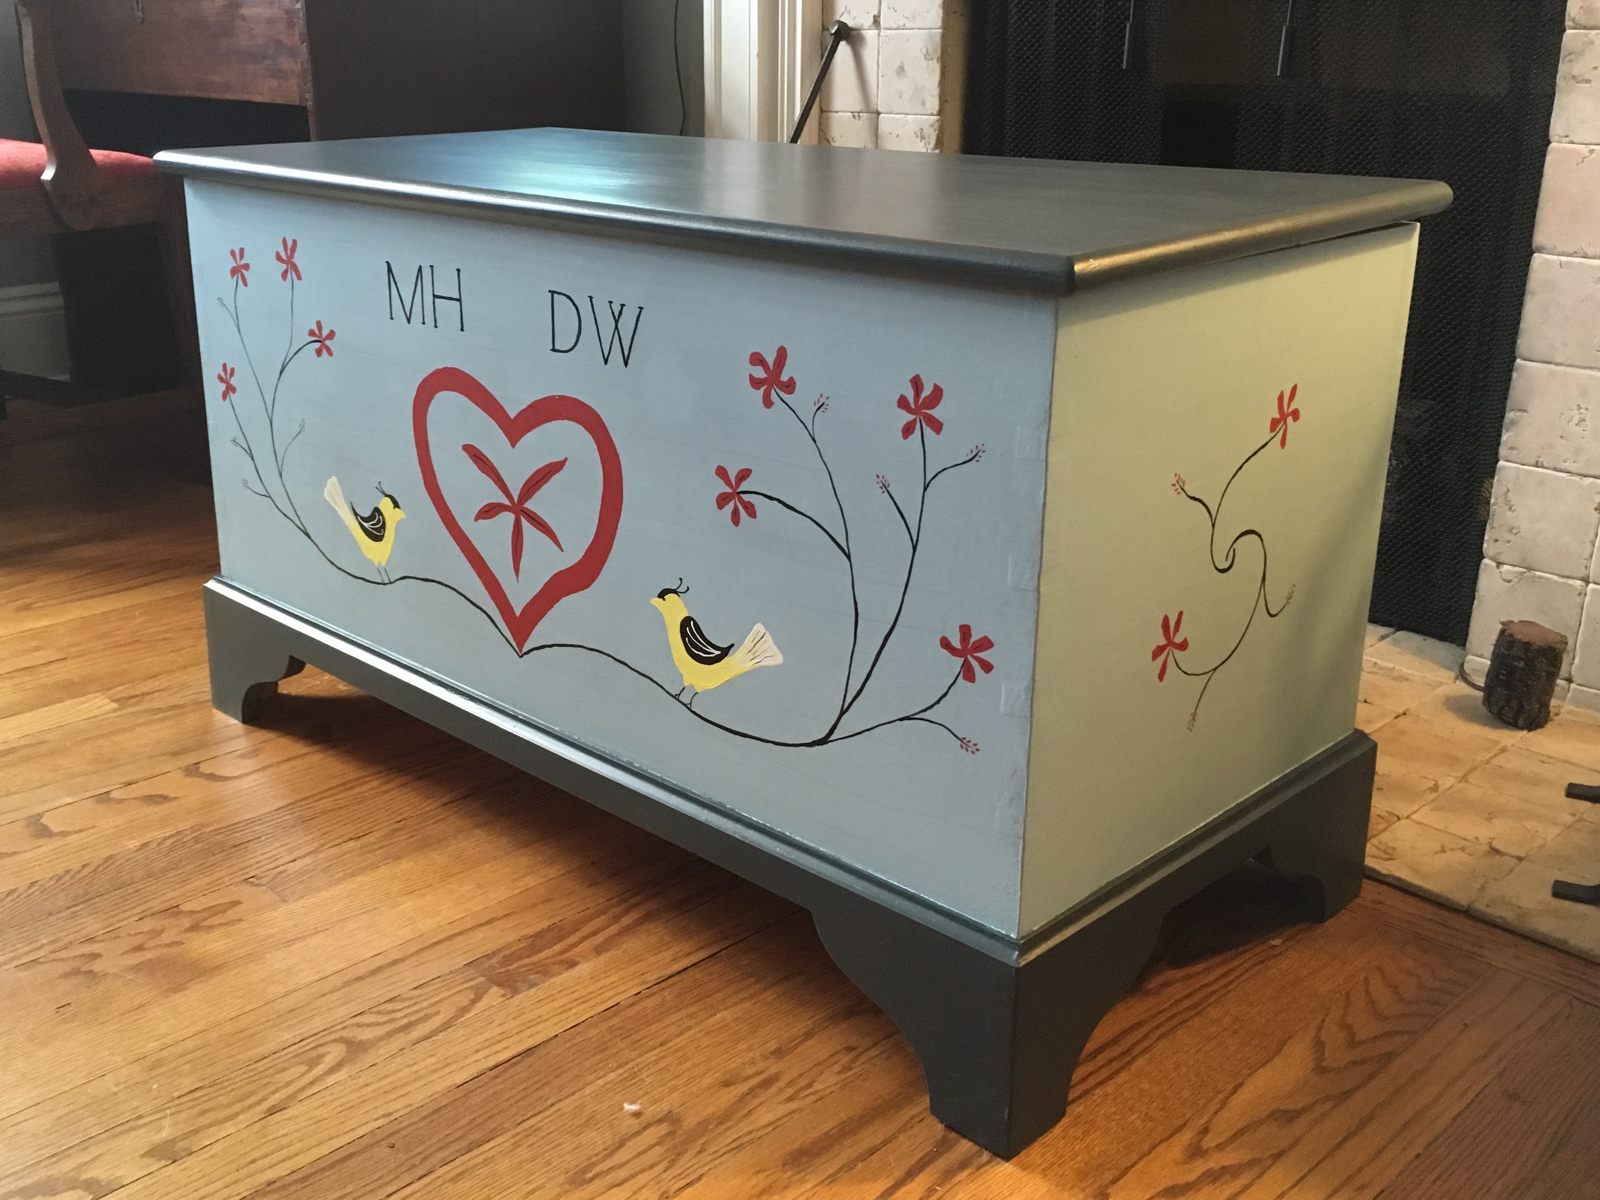
This winter I built a Pennsylvania Dutch blanket chest. You can see pretty clearly what it is from the photos: it’s a chest, and you put your blankets in it. But that term “Pennsylvania Dutch blanket chest” is tricky: it refers almost exclusively to antiques, and so it might seem proper to call this a Pennsylvania Dutch style blanket chest — but it is, in fact, Pennsylvania Dutch, because I’m Pennsylvania Dutch, and I built it. It is also, in both construction and decoration, in keeping with both the form and the spirit of traditional (pre-1850) Pennsylvania blanket chests, and not only because I stuck a heart and some goldfinches on it. It isn’t a flat-sided New England six-board chest; it’s got decorative molding and a scroll-cut plinth (base). But the molding is simple, and it isn’t built of figured maple or imported mahogany, as some rich merchant or southern planter might want; it’s made of inexpensive wood (poplar) and painted. The painting is “just for pretty” but it relies on simple forms and on the skill and individual creativity of the maker rather than on expensive materials for its aesthetic value. It’s both practical and decorative, and there’s no competition between those qualities.
I tried to carry that spirit through the whole design, elevating the practical without compromising it. (Oh lord, this is starting to sound like an artist’s statement now. Reader, forgive me.) There were two challenges in designing this chest, the construction and the decoration, and I’ll address them separately.
The construction is modeled on a design for a Shaker blanket chest by Chris Shwarz in an old issue of Popular Woodworking. The plinth is built separately from the body of the chest, then attached at the end, and the molding custom-made to fit the actual lip left by the plinth, so that as long as both boxes are solid and square, you can join them and make them look like a single piece. In fact, you can join them even if they’re not perfectly square: somehow, between dry-fitting and glue-up, my case got slightly out of square, and so I simply tapered the molding on the side to fit. Not perfect, eternally annoying to the maker, but you can’t see it unless you look for it.
Making the molding by hand also gave me an excuse to try out my new sets of previously loved hollow and round planes:
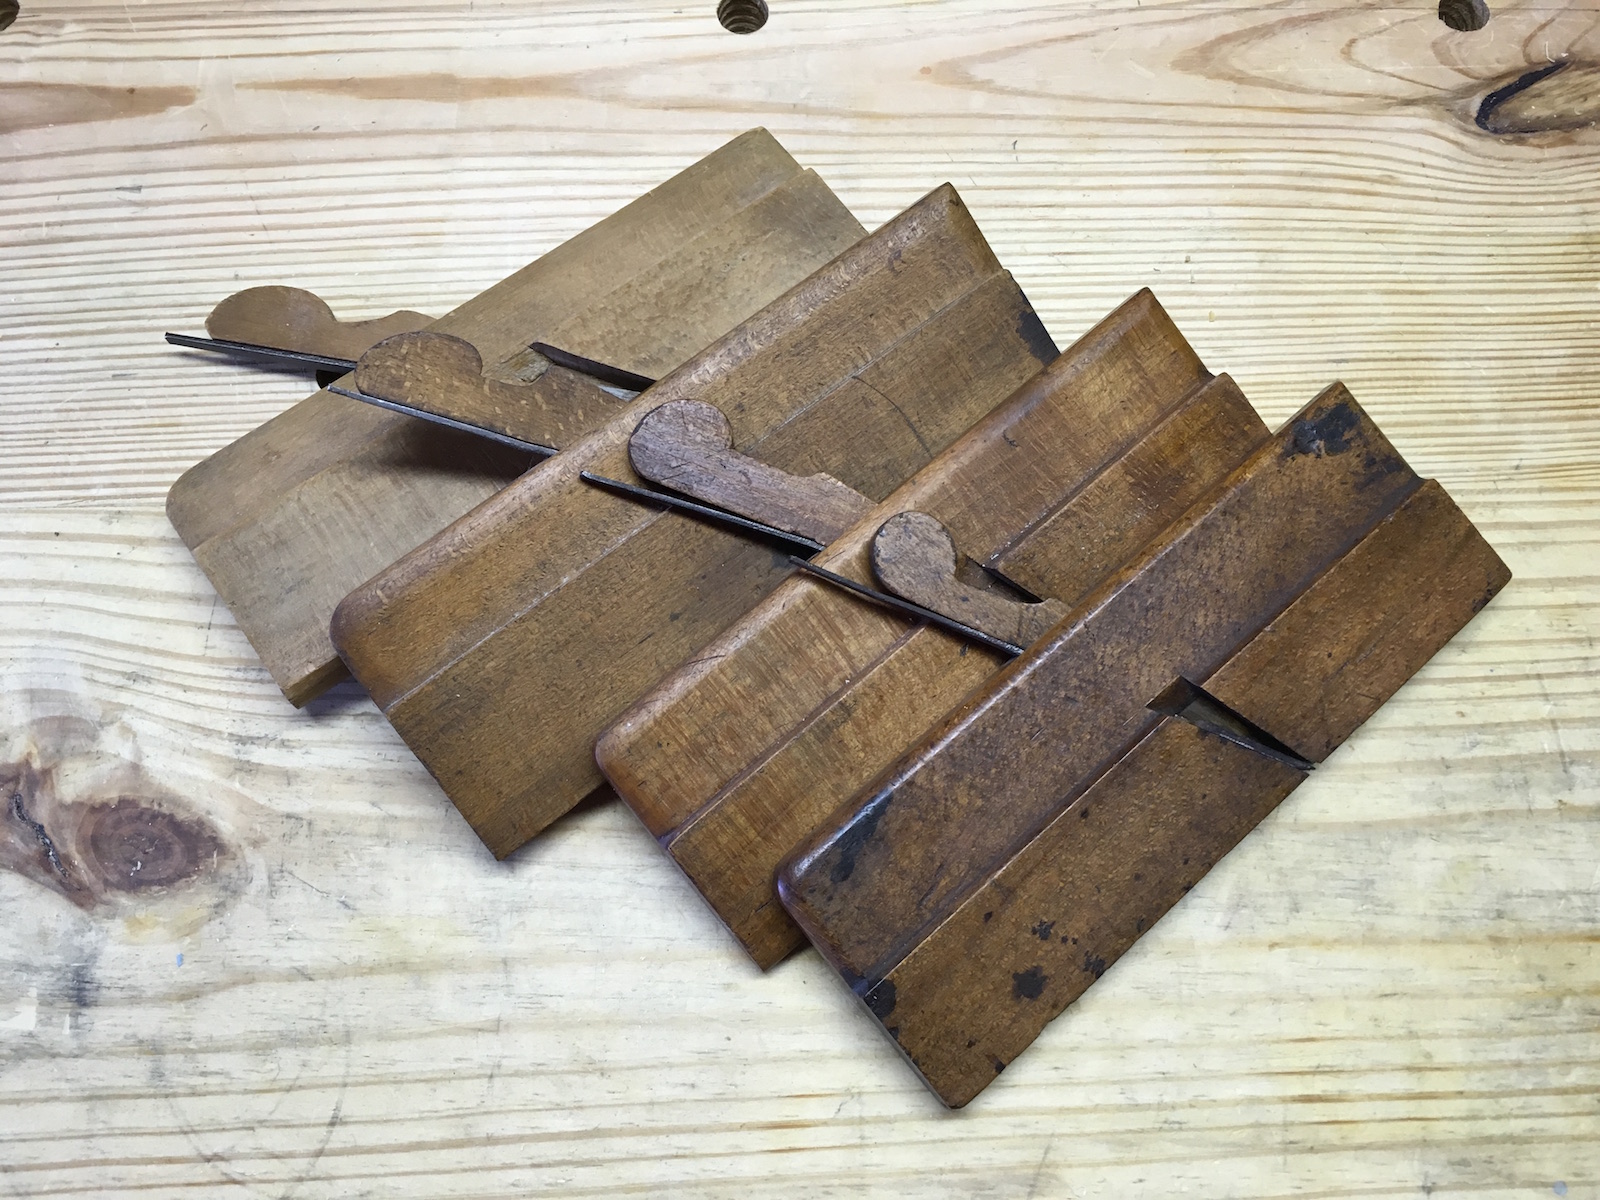

In principle, with various sizes of hollows and rounds plus a plow and rabbet plane, you can cut any complex molding profile you like. Cutting cove molding was an education in itself, requiring a fair bit of research and considerable experimentation. It takes two separate planes, one of which has no fence. But once you get the feel of it, you can zip right along, and you don’t have to listen to the whine and roar of the router.
As usual, I built the thing entirely with hand tools. I would say that “no electrons were harmed in the making of this piece,” but that isn’t quite true: after a couple of hours’ fussing with French curves, I gave up and used my design software to lay out the curves for the plinth. In about five minutes I had a Bezier curve I liked, and then I just printed it off, cut it out, taped it to a piece of hardboard and made a template. I’m not a purist; I just don’t like noise. And I enjoyed taking my time with bowsaw and spokeshave to shape the curves rather than setting up the router, screaming through, and praying I didn’t slip.
In the first photo, above, you can see the dovetails, if you’re into dovetails.
Then the decoration. I really wanted to use milk paint. I got as far as painting the base colors and most of the design on the front. I’ve used milk paint before with stencils. But it just doesn’t give a clean line. Worse, however thoroughly you mix it, it goes on a bit rough and has to be smoothed out (I like a green Scotch-Brite pad) — and while that’s fine for solid blocks of color, it smeared black and red dust onto my blue background and made it look dingy. So I gave up, got practical, and used a latex acrylic base and my artist’s acrylics for decoration. I hated the idea, but I got over it. In the old days I have to conclude I’d have used oil, but I don’t have easy access to oil paint, and more important, in the old days I’d have been practical and adapted my notions to the materials at hand.
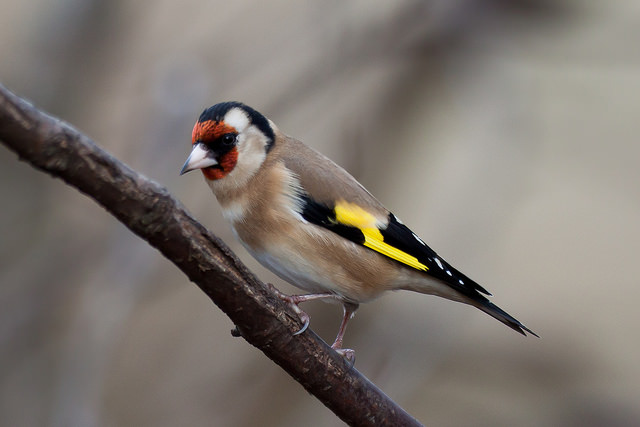
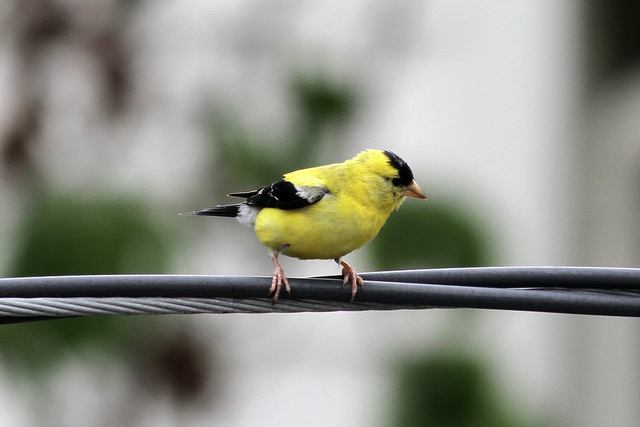
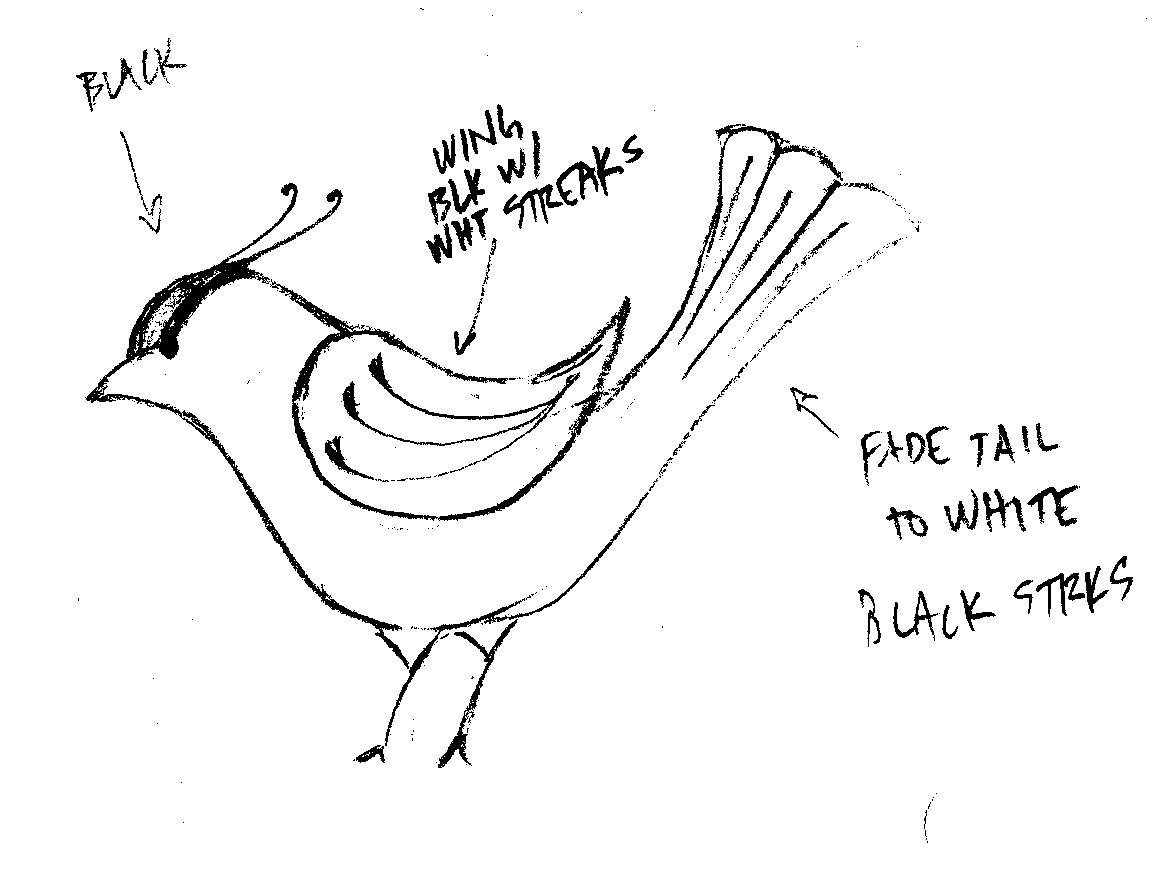
The painting is, I think, evocative of eighteenth-century Pennsylvania Dutch folk art. It’s certainly inspired by fraktur. But I didn’t copy any old designs, and in fact I made some changes. Instead of the traditional three-point tulips my flowers have five petals. Don’t ask my why; I’ve been painting them that way for years. And the distelfinks, traditionally colored as European goldfinches, are Americanized, because while American goldfinches regularly visit the window feeder two feet from where I sit typing this, I have never in my life seen a European goldfinch, and neither have my ancestors this past quarter of a millennium.
After I struggled awhile to draw the bird I wanted, my daughter picked up a pencil and sketched this one in seconds. In the future I may just turn the whole painting business over to her.
The business with the goldfinches brings me back to my original point about this chest being Pennsylvania Dutch. I resent, mildly and with relatively good cheer, my ethnicity being identified almost exclusively with antiques, but what the hell, we did it to ourselves. But the thread the old craftsmen followed and passed down the generations is broken. Simply copying antiques only ratifies their antique-ness, because while those old makers learned from one another, they were inventive and individual in their designs. The question is, how to pick up old traditions and carry them forward without enslaving yourself to them? There aren’t any easy answers; we just have to build and paint our way into them by trial and error, and that’s what I’m trying to do.
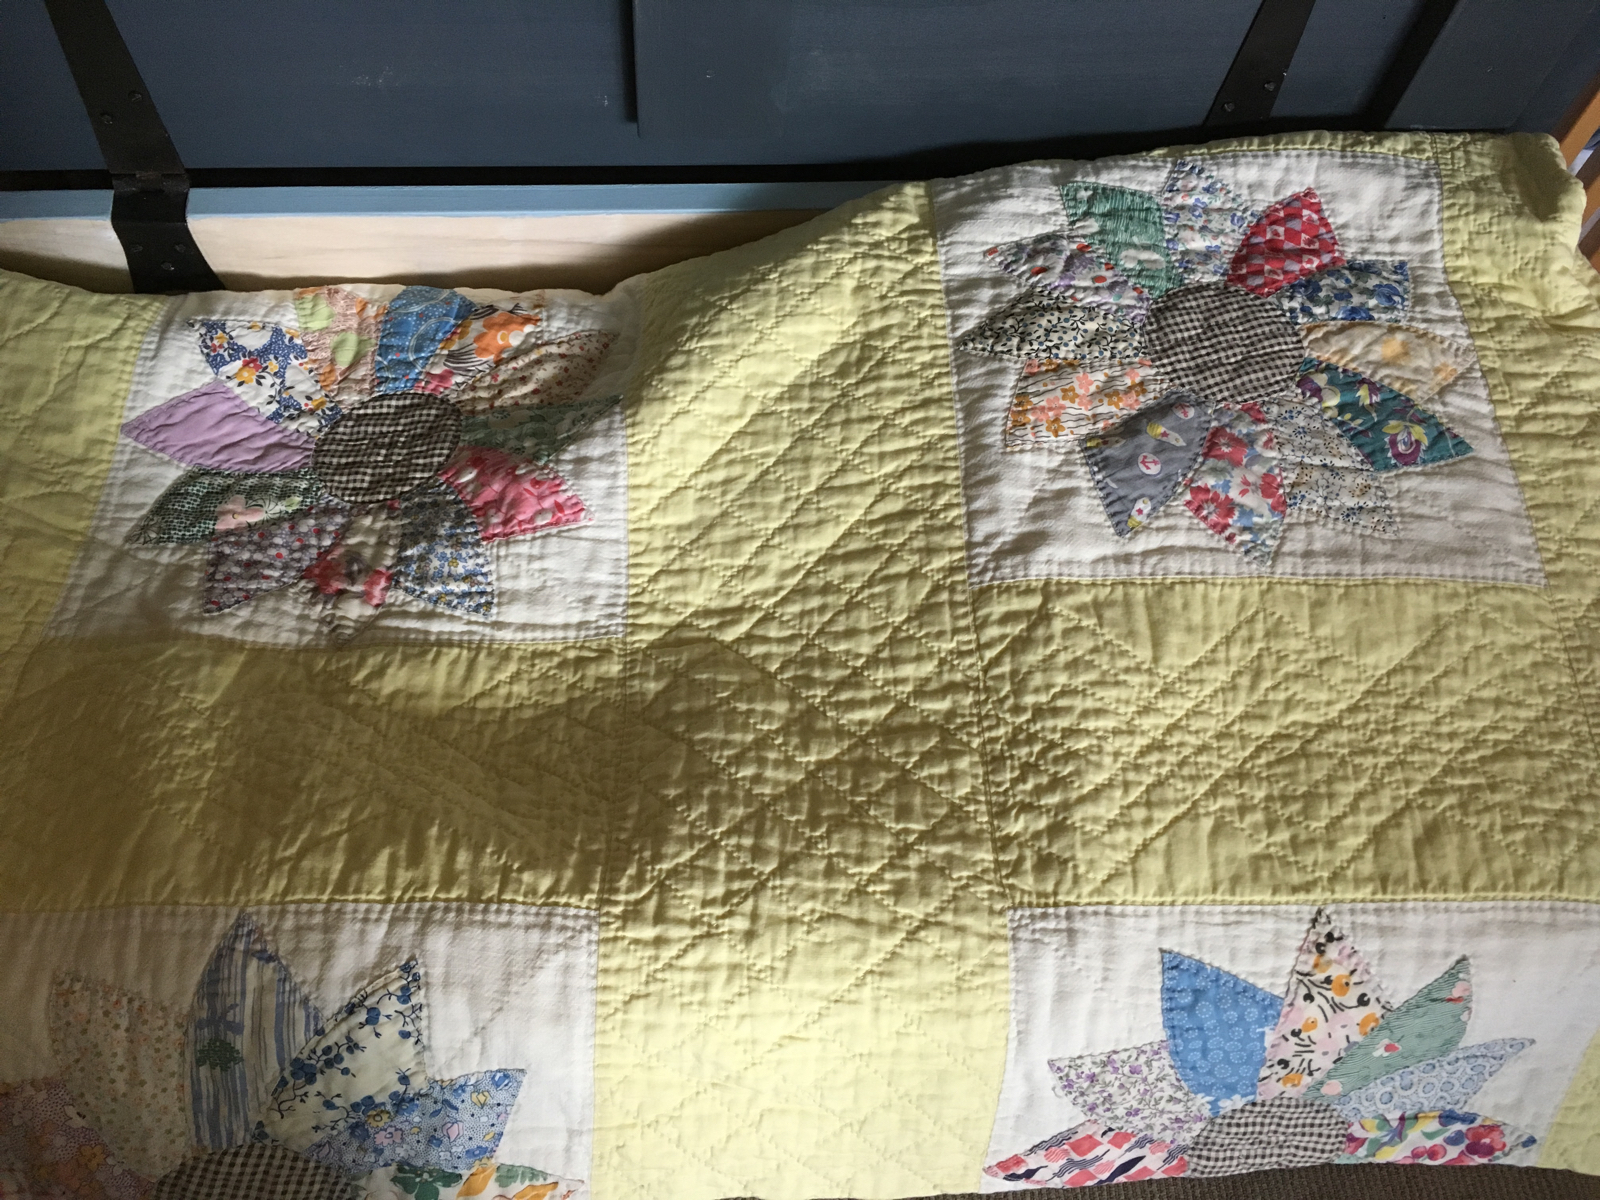
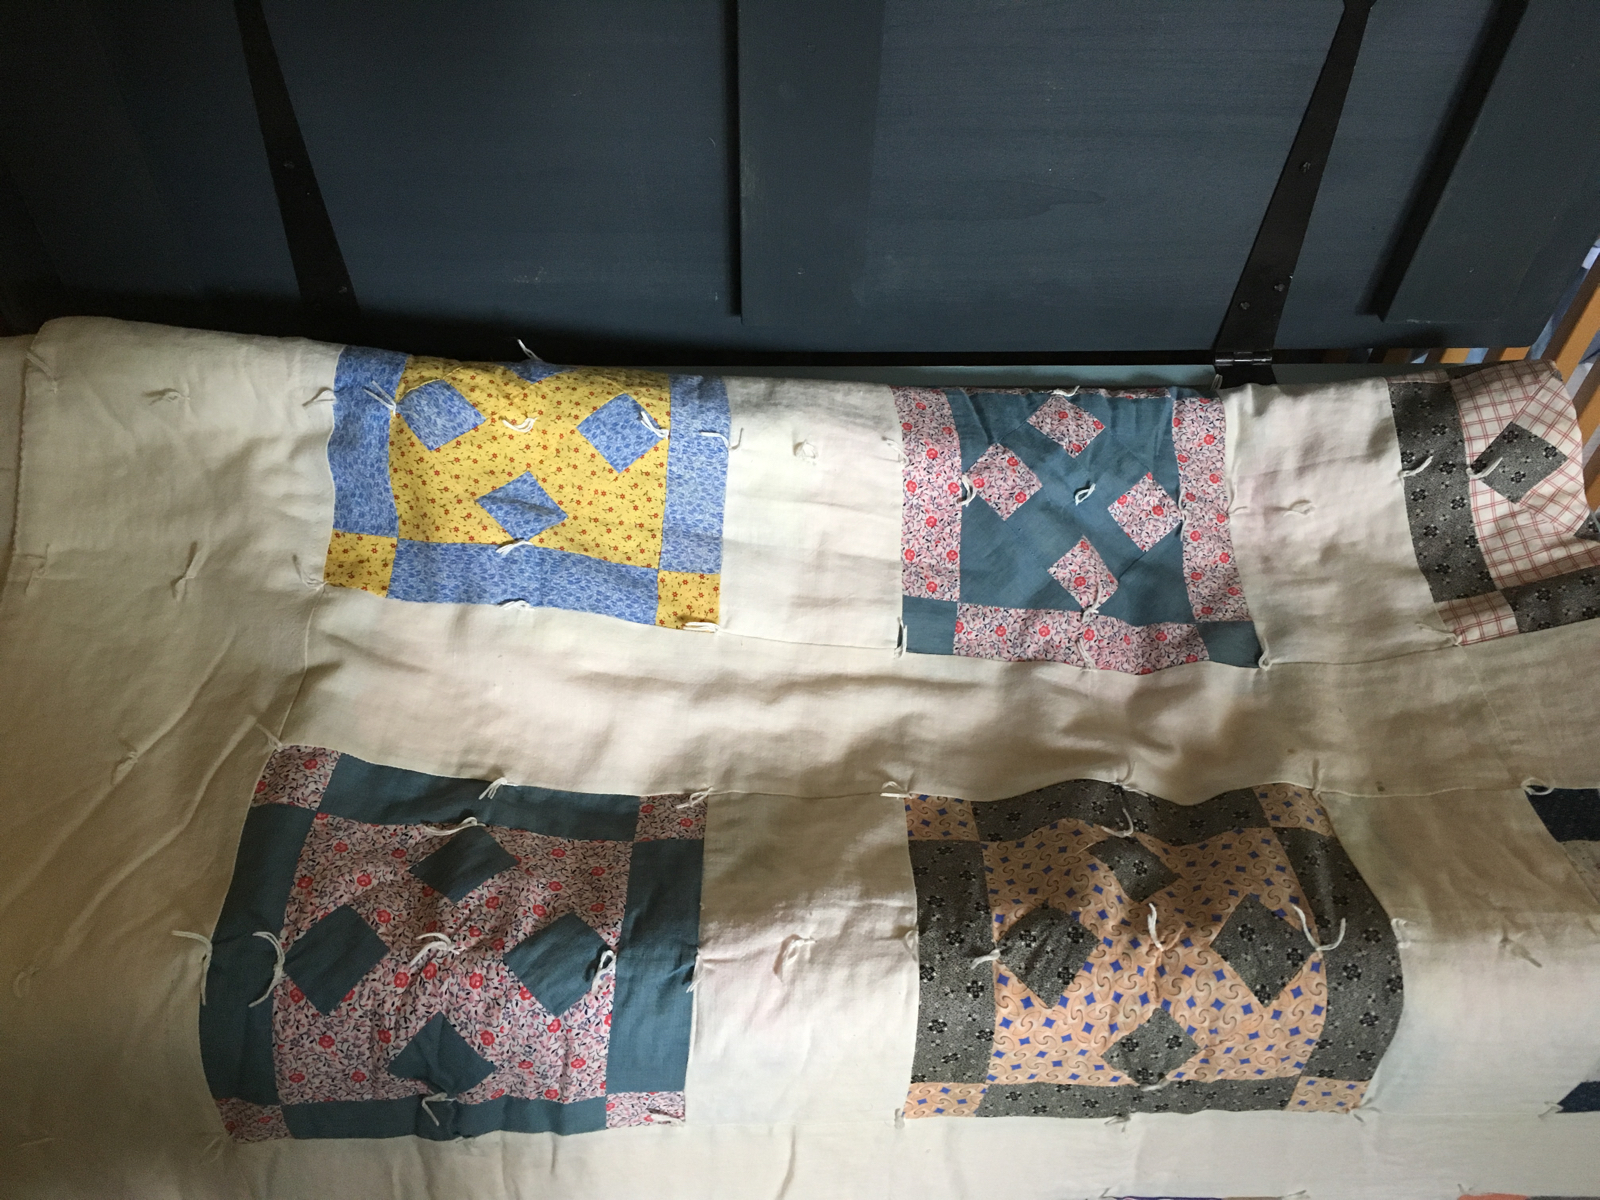
And yeah, it’s got old quilts in it, so that title of this post’s an awful pun. Sorry about that.